 One of my biggest challenges when I started out with shooting food was not having enough variety of props. The range of things you need is quite extensive and will also depend on the style of shooting you do as well:
1. Backgrounds
2. Fabric
3. Cutlery
4. Plates
5. Other props
6. Random stuff
Its expensive to have to gather a collection together so my philosophy was simple – get simple classic pieces that can be used over and over again – the extra fluffy bits you put with it can change the mood/theme/style as necessary.
This means we can build up a solid library of elements that can be used in a variety of different ways.
Second – I *scrounged* hard! Go through the cupboards of friends and relatives and dig into the dusty back corners that never get used. Go to markets for bargains. Take time to buy the right pieces, I walked away from many cute things because it wasn’t the best fit for my requirements. Resist the temptation to buy everything that appeals 🙂
Make friends with secondhand shop owners – I was such a regular at one place, they knew I was looking for old tarnished silver ware and they had a box full from an estate sale they didn’t want to polish. I got about 12 good pieces for $10!
Third – Make stuff if you can. I made a whole heap of my own backgrounds. Note this isn’t necessarily the cheapest option, but you get a totally unique look, plus the skills to make new ones to suit in the future if needed.
Finally, be creative, you can use various elements in new and different ways, mix and match in unusual combinations and see what happens. I have some white feathers acquired for another project, and am using them as foreground interest in winter themed shots. No one has pointed out that feathers aren’t particularly winter relevant yet 🙂
Lets Look At Props
Backgrounds
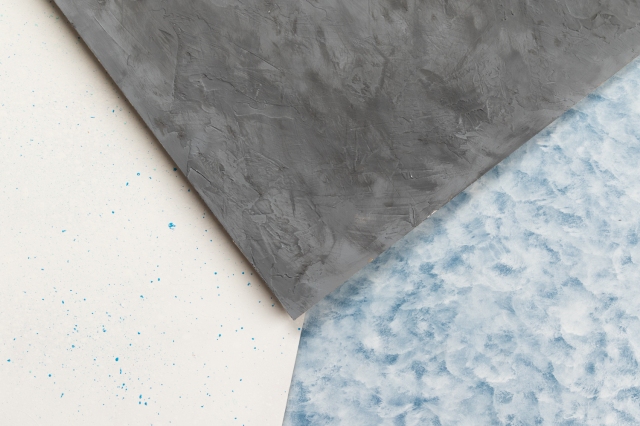
When you build your scene you start with the backdrop and baseboard ie backgrounds. These will set your colour tone and provide the first level of texture
Here are some of my custom made ones – the grey industrial one is a personal favourite
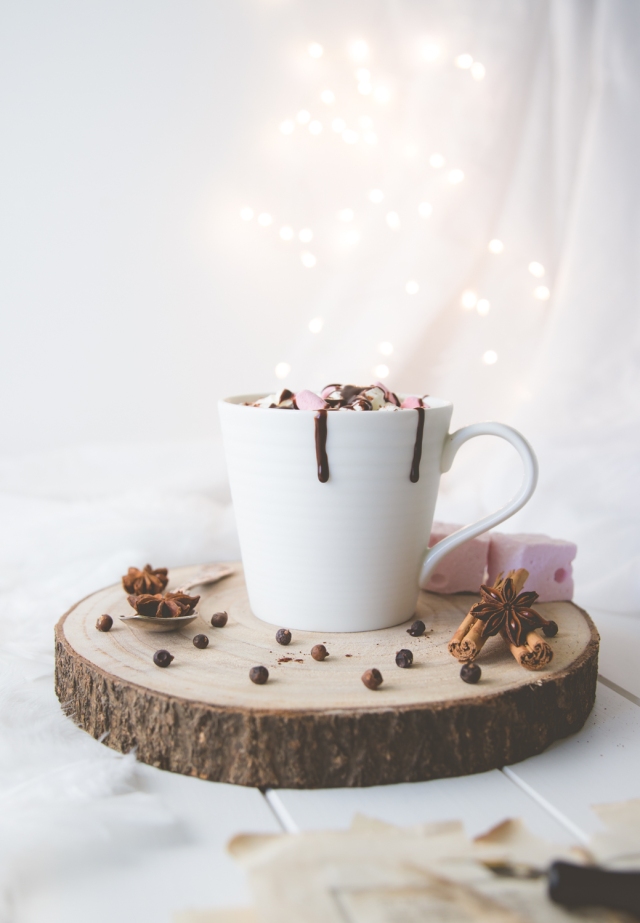
Here is a finished shot with the grey one
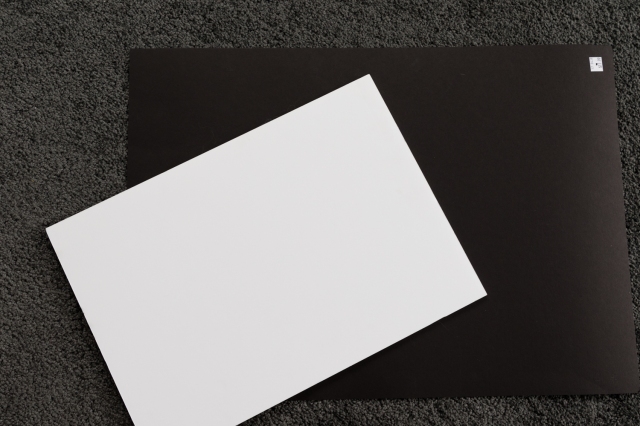
Also with backgrounds I use plain black and white a lot as well – either FoamCore sheets or big sheets of heavy grade cardboard (from art shops). Light and easy to work with – double sided. I also have smaller ones to use as my reflectors and V-flats.
 Lots of people use vinyl backgrounds they have purchased online, unfortunately its way too expensive to ship them here to NZ, plus the exchange rate doesn’t work in my favour a lot either. So I opted to make my own, but there are LOVELY options you can by online.
Fabric
I use fabric a lot – first I was really afraid of it because I couldn’t get it to look right. Then I realised that using the right colour fabric and also the texture of it makes a big difference.
Light weight open weave muslins and similar in neutral tones help add in soft subtle texture and soften the hard lines of plates and cutlery. Heavy linens add more impact and scale when required
This is a sample of some of my white fabrics – you can see there are different shades of colour in these
L-R
very light gauze, muslin, heavy cream linen, white linen

I use white fabric a lot to drape in the backgrounds and hide the join between the background and backdrop. If you buy big quantities from fabric supply places its more cost effective and you can cut smaller pieces off and hem for napkin sizes etc.
Here is a draped background shot showing the effect.
Coloured Fabrics
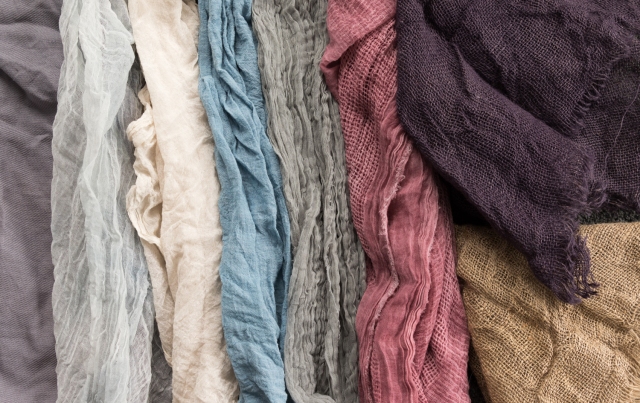
This is a sample of some of the different coloured fabrics – this probably 20% of my total collection.
I buy a lot on line – Etsy, Silk&Willow and Mollycoddle (baby prop supplies) are my main sources.
Here are some closeups so you can see the different textures


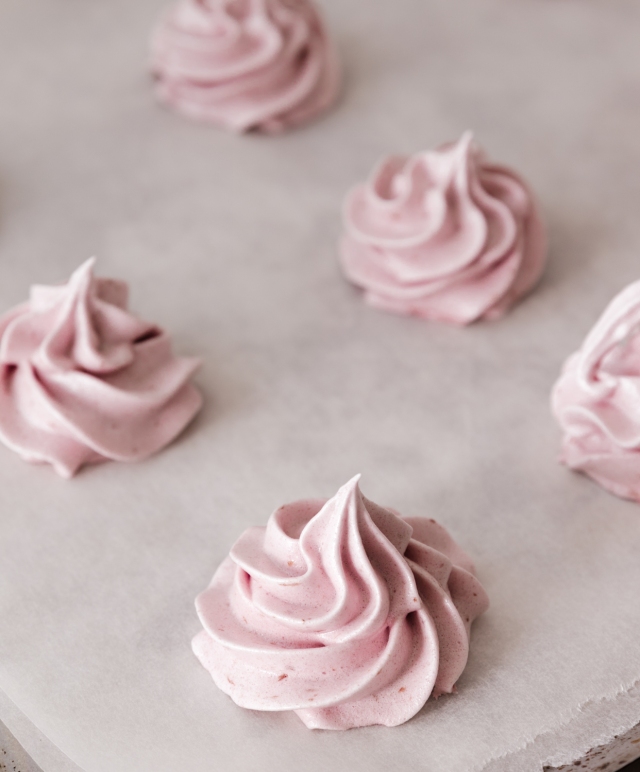
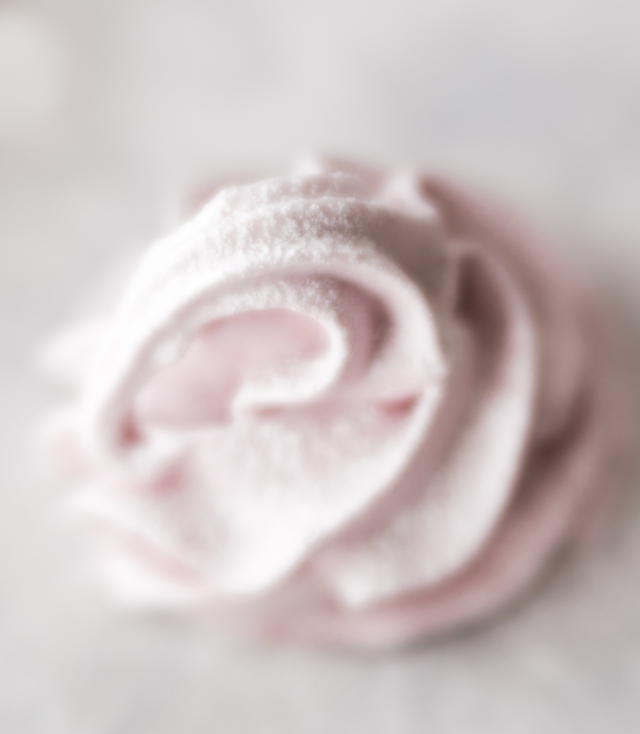
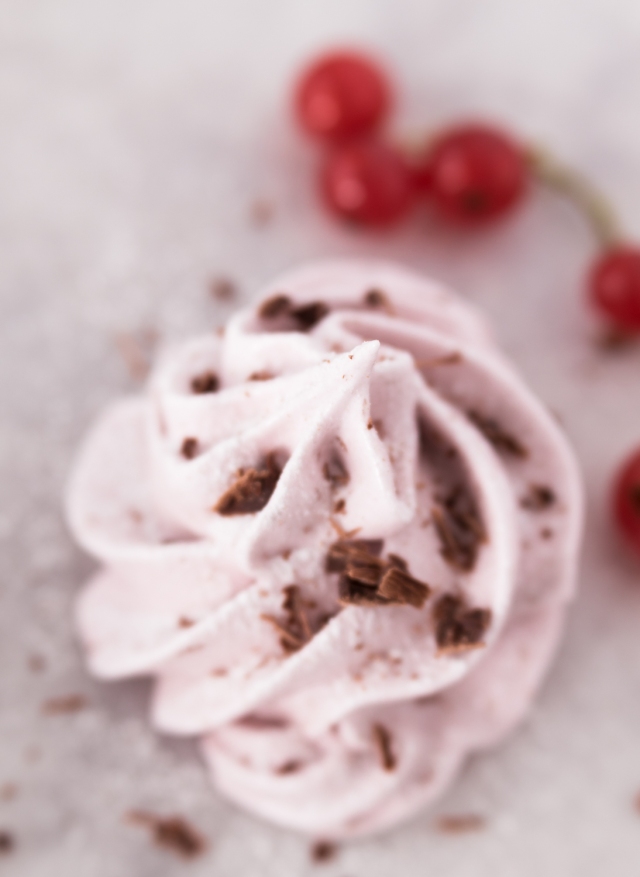
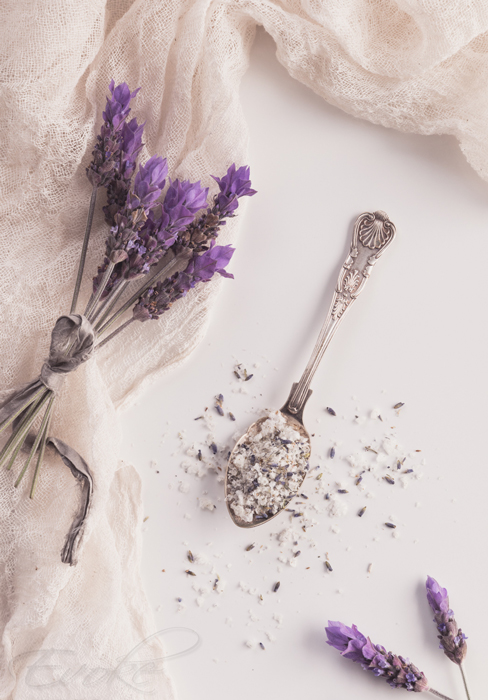
Here is an example with one of the light open weave fabrics, used to soften and frame the lavender salt.
Hard Props – Plates, Cutlery Etc
OK this is where it can get expensive, but it doesn’t have to. I have spent a couple of years building up my collection, and I am *absolutely* on a budget here. Take some time and scrounge, shop online for bargains, find out where other people get stuff.
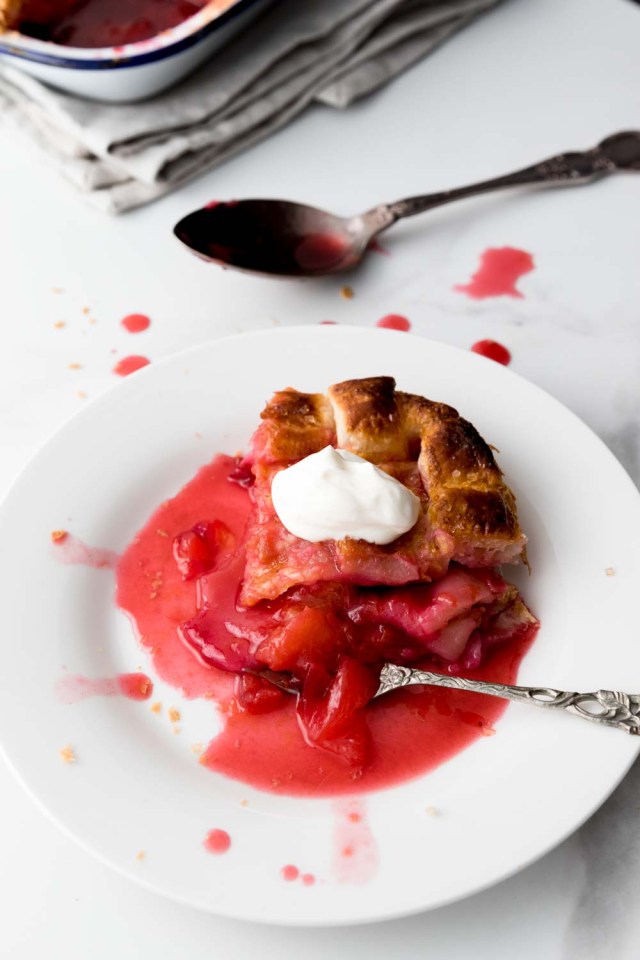
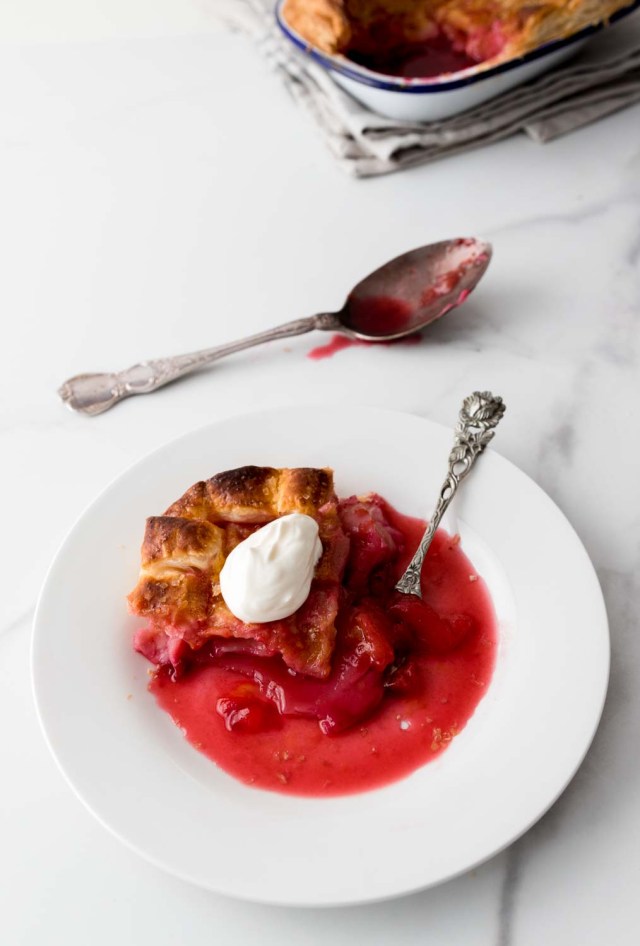
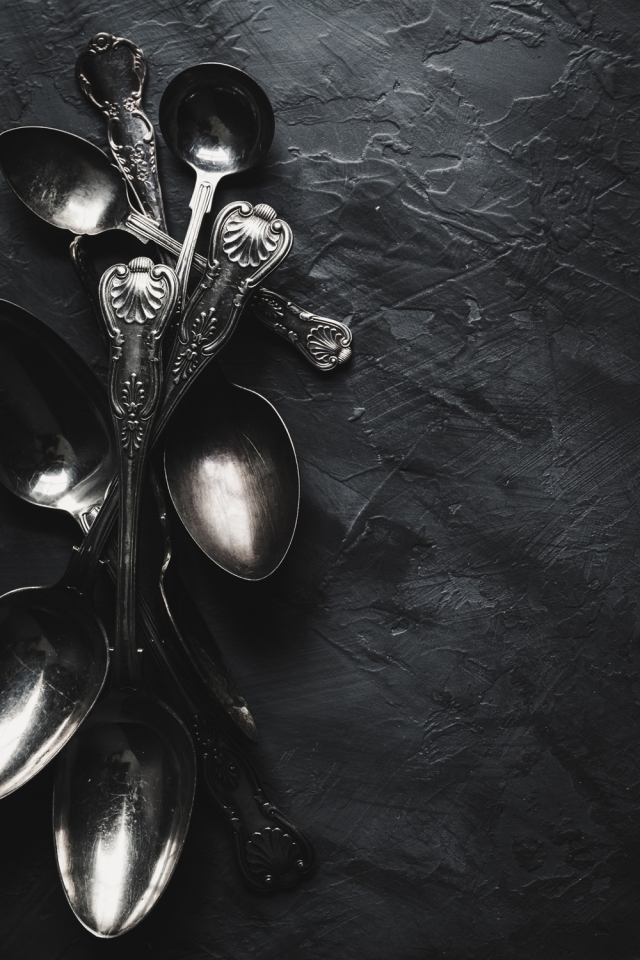
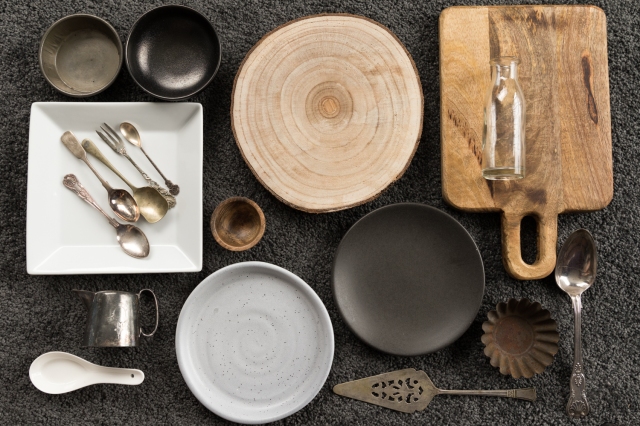 My cutlery is all old tarnished vintage stuff, it doesn’t reflect as much as shiny new stuff, and I personally prefer the classic styling.
My plates are all simple plain MATTE finish (very important) and I have a collection of old tarnished silverware as well. Love my round slice of wood board, that was a recent treat.
Old glass bottles are good for background interest and stand in for milk bottles. Glass jars are good as well. My most favourite piece of all is a big slice of black slate that was designed as a cheeseboard. Its very matte and textured and looks great in close up shots – see below.
Other Accessories
Ribbons, string, snips, feathers, fairy lights, dried leaves, nuts, twigs, dried berries, fresh flowers and so on.
So there you go!
My first bit of advice is decide on the style you like for propping your shoots. I use Pinterest and Instagram for inspiration a lot. Build up some boards and see if an obvious theme develops.
Then use that as a basis for building a list of base props to start with – some plates, cutlery, fabric, backgrounds. Enough to get you started.
Once you begin to experiment, then it will probably grow quite organically. Turns out I have a real thing for collecting spoons LOL
Remember – HAVE FUN and play 🙂 That is how we all learn!